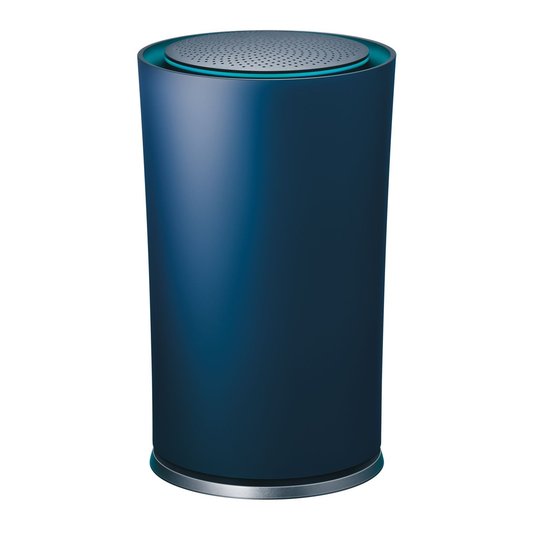
The OnHub is pretty easy to get up and running using iOS or Android. My understanding is that it is easier to setup with Android, so I used an iPhone to set it up to see just how difficult it can be. I downloaded the app to my phone and then signed into a gmail account (which I believe is a requirement, but you can set an account up for free, so I don't see that as problem). Once I had it installed, it had me enter some numbers from a sticker at the bottom of the router and then assign a network. The OnHub has an unusual way of letting you know that it is finished by changing the colors of an LED ring at the top. Blue means that it is ready for setup, Amber means something is wrong, and Teal means you are up and running. After you set up the router, you can adjust the LED to be completely off or you can adjust the brightness with a handy slider in the app.
Once I was up and running, I gave it its own network name. The app noticed my older router and it indicated that everything might run smoother if I made the other router a bridge. I couldn't find a way to easily do that and I didn't want to remove the old router all together because I currently need the multiple ethernet inputs because the OnHub only has one ethernet input (I may buy another switch down the road, but I am still deciding if it is worthwhile). The old router also has USB inputs for attaching external drives to my network and the OnHub's USB input cannot currently be used for that purpose.
If you use the OnHub as the main router, you might also lose some of the controls that your old router might have. For example, you will lose parental controls and guest networking. Also, I like to rename the devices on my network, but I didn't see a way to rename an "Unnamed device" to make it easier to manage my network. As a result of some of these limitations, I decided to use the OnHub in bridge mode rather than facing the possibility of running into possible issues. It will pop up a warning that says that you will lose support for WAN configuration, UPnP, port forwarding, client static IPs, and DNS settings. I didn't find these limitations to be of great concern, so I set it up as a bridge.
As I mentioned above, I was mainly interested in faster wifi speeds on my network, so I ran some before and after tests. Before the OnHub was added to my network, I used an iOS app called "speedtest" to see how fast my up and down internet speeds were with my iPad Air 2. Before adding the OnHub, the speeds were 53.75 Mbps download and 11.78 Mbps up. After installing the OnHub, the speeds jumped to 88.62 Mbps down and 12.03 Mbps up, which is one of the main benefits of AC 1900 capabilities. I also was concerned with range. Unfortunately, I didn't have a place to put this in the center of the house, but the range is much better than my other router. I get a perfect signal in my backyard now where I didn't pick up a signal at all before I put in the OnHub, thanks to its 13 high powered antennas.
The OnHub also promises to add future capabilities. For example, it has a Bluetooth 4.0 and ZigBee Home automation circuitry that should eventually be enabled. It will definitely be interesting to see where Google takes this device in the future.
For my needs, it currently does everything I wanted it to do. It provides much better wifi internet speeds and greatly expands the range of my network. It may be missing some ports and useful features of other routers, but it makes up for it with ease of use, a handy bridge mode, and the promise of future updates.

 RSS Feed